Goal
Publish one complete narrated video with minimal rework.
Step 1: Prepare Input
Before opening SlideVids, prepare:
- Final presentation topic and target audience.
- 5-15 slide outline.
- Narration text per slide (short spoken sentences).
- Target destination: YouTube, LMS, social, internal training.
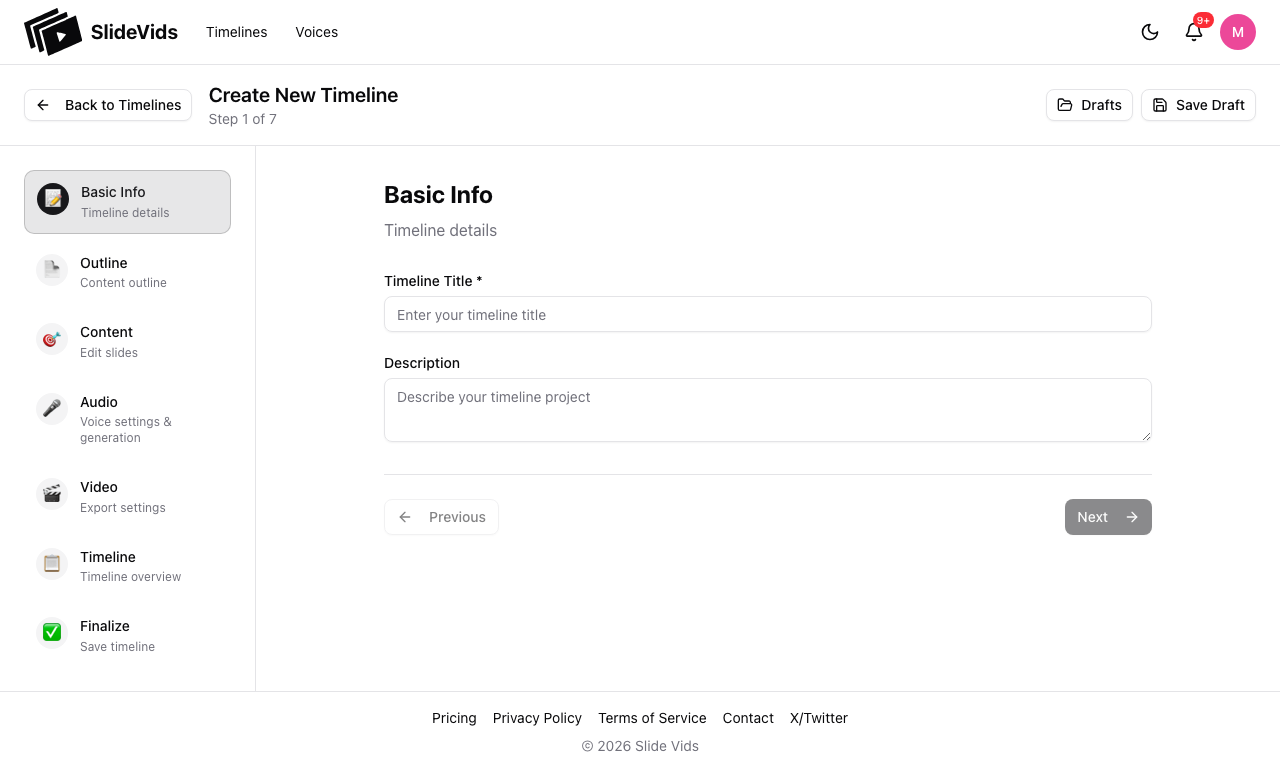
Step 2: Wizard - Basic Info
- Click
New Timeline. - Enter timeline title.
- Confirm format (
landscapeorportrait) and base settings. - Click
Next.
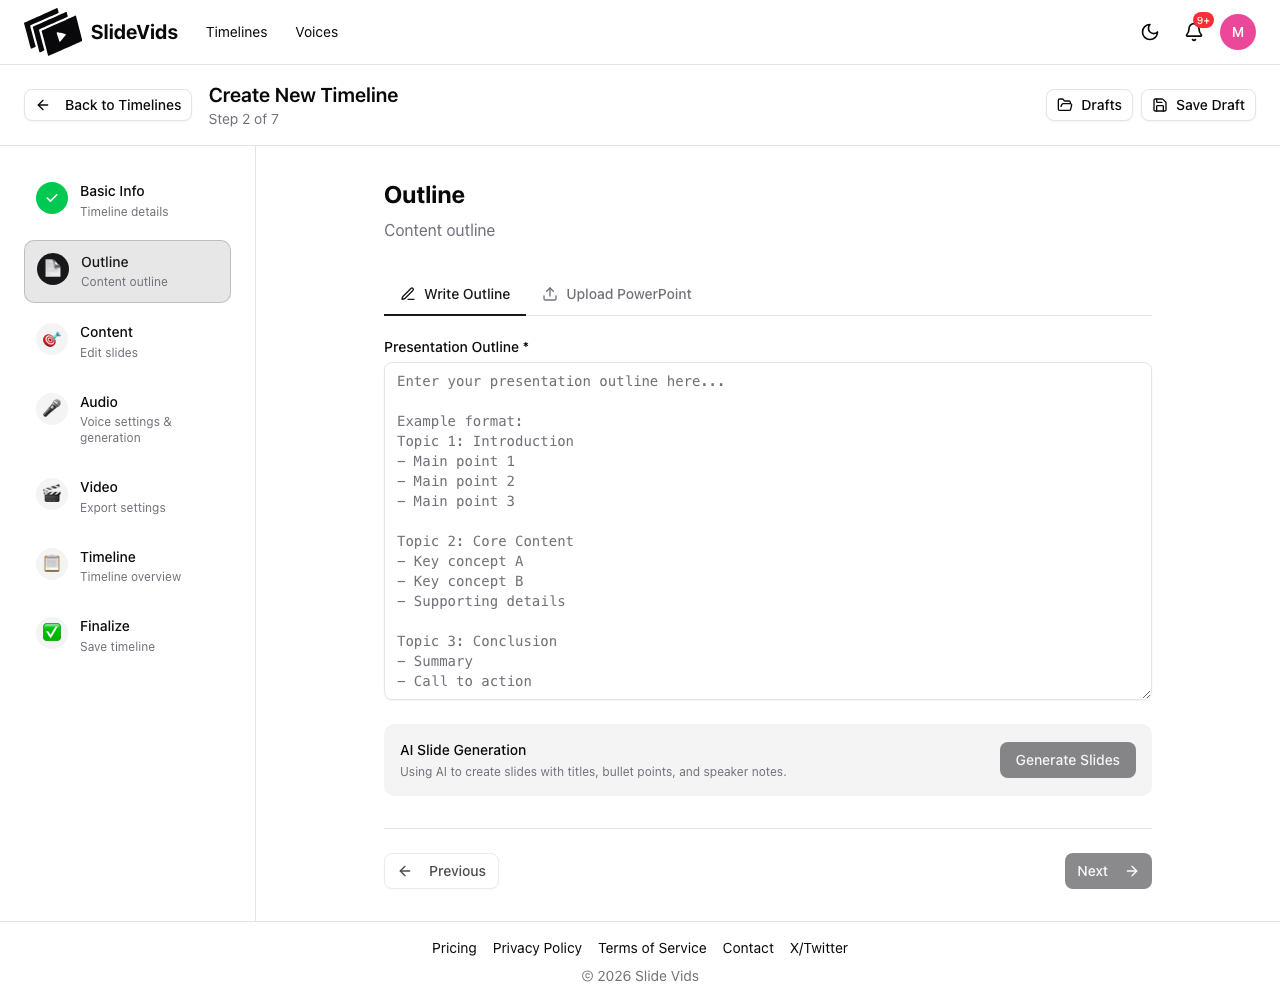
Step 3: Wizard - Outline
- Paste your outline.
- Click
Generate Slides. - Wait for generation to complete, then click
Next. - If generation returns
0 slides, continue and add your first slide manually in the Content step.
If you already have a .pptx deck, switch to the Upload PowerPoint tab instead of using outline generation.
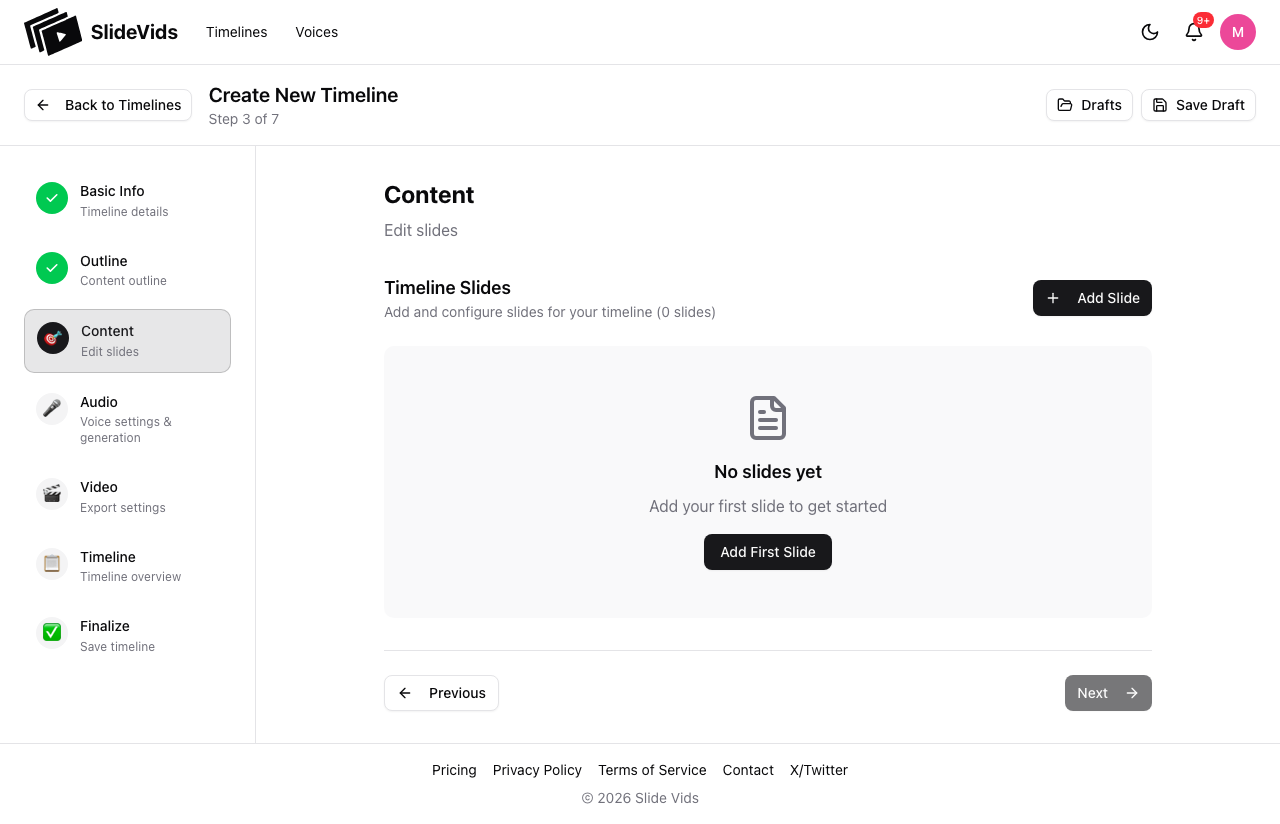
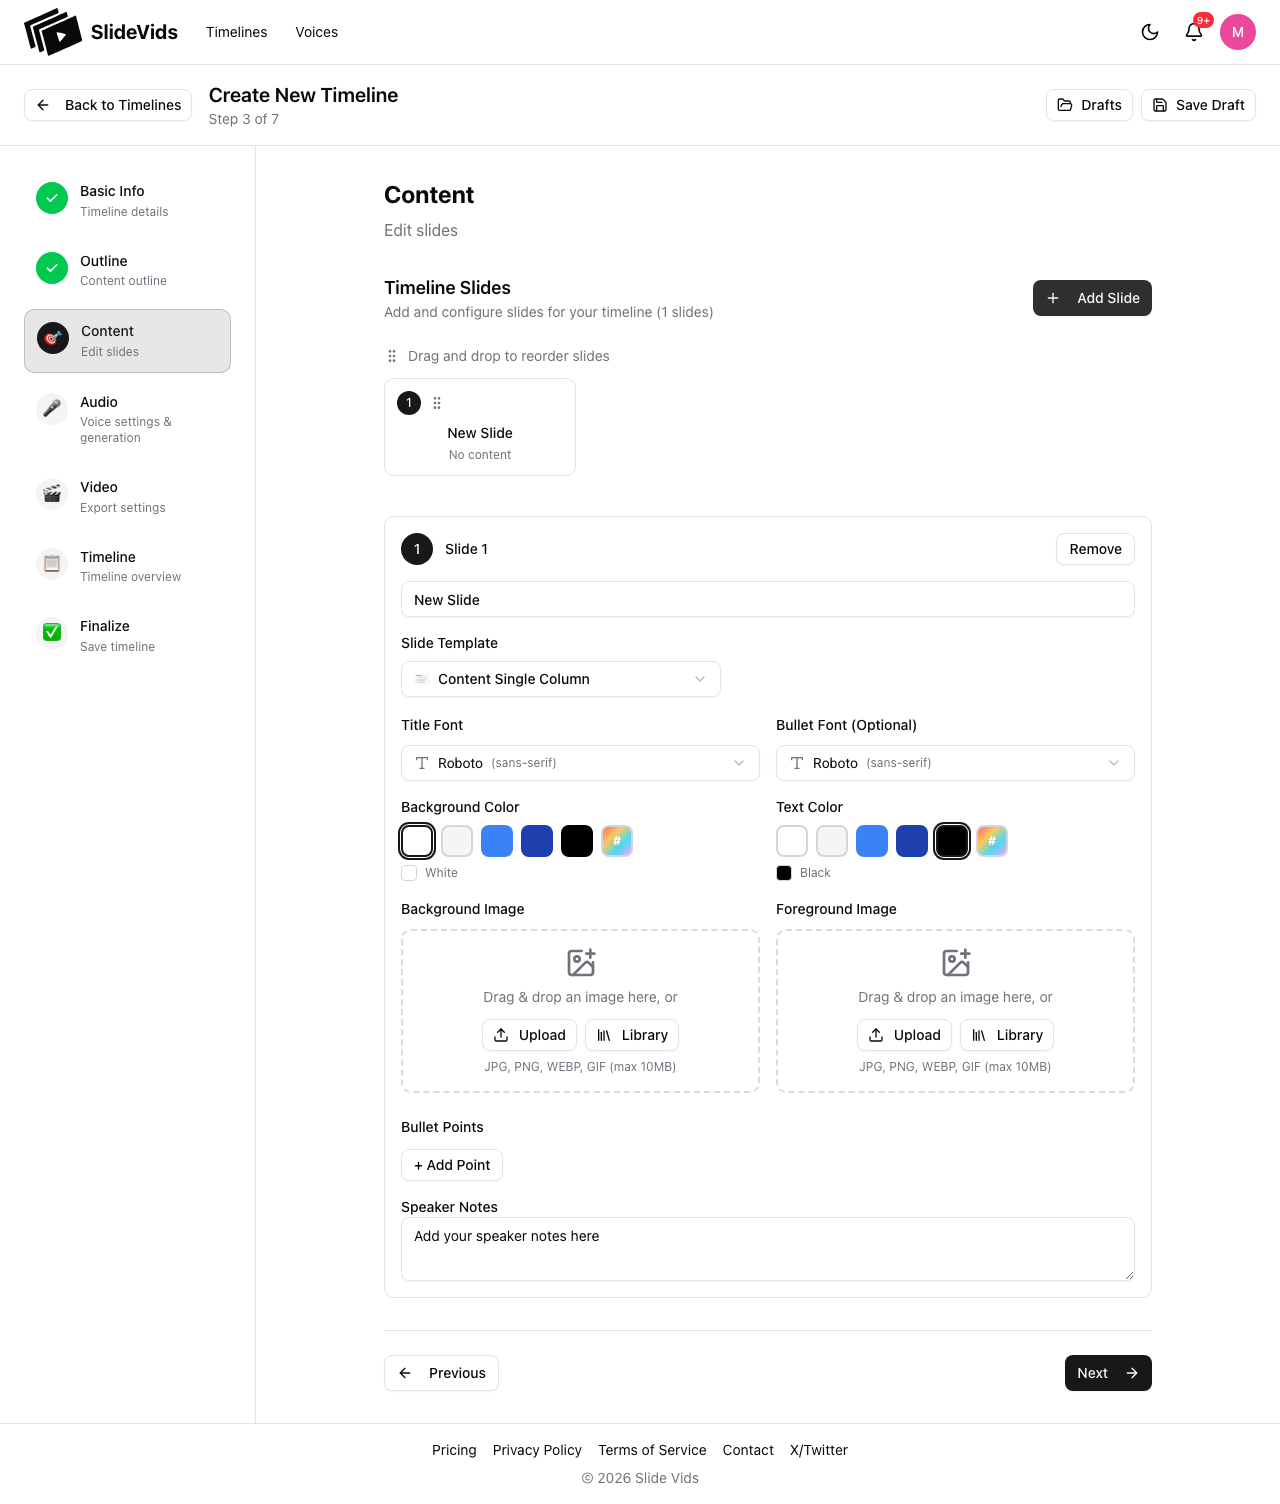
Step 4: Wizard - Content
For each slide:
- Add a concise title.
- Add 3-5 bullets max.
- Add speaker notes/narration text for natural speech.
- Ensure at least one slide exists before clicking
Next.
Writing Pattern That Renders Well
- One idea per slide.
- Short bullet lines.
- Pronunciation-friendly wording (expand acronyms on first mention).
Step 5: Wizard - Audio
- Choose provider and voice.
- Preview one representative slide.
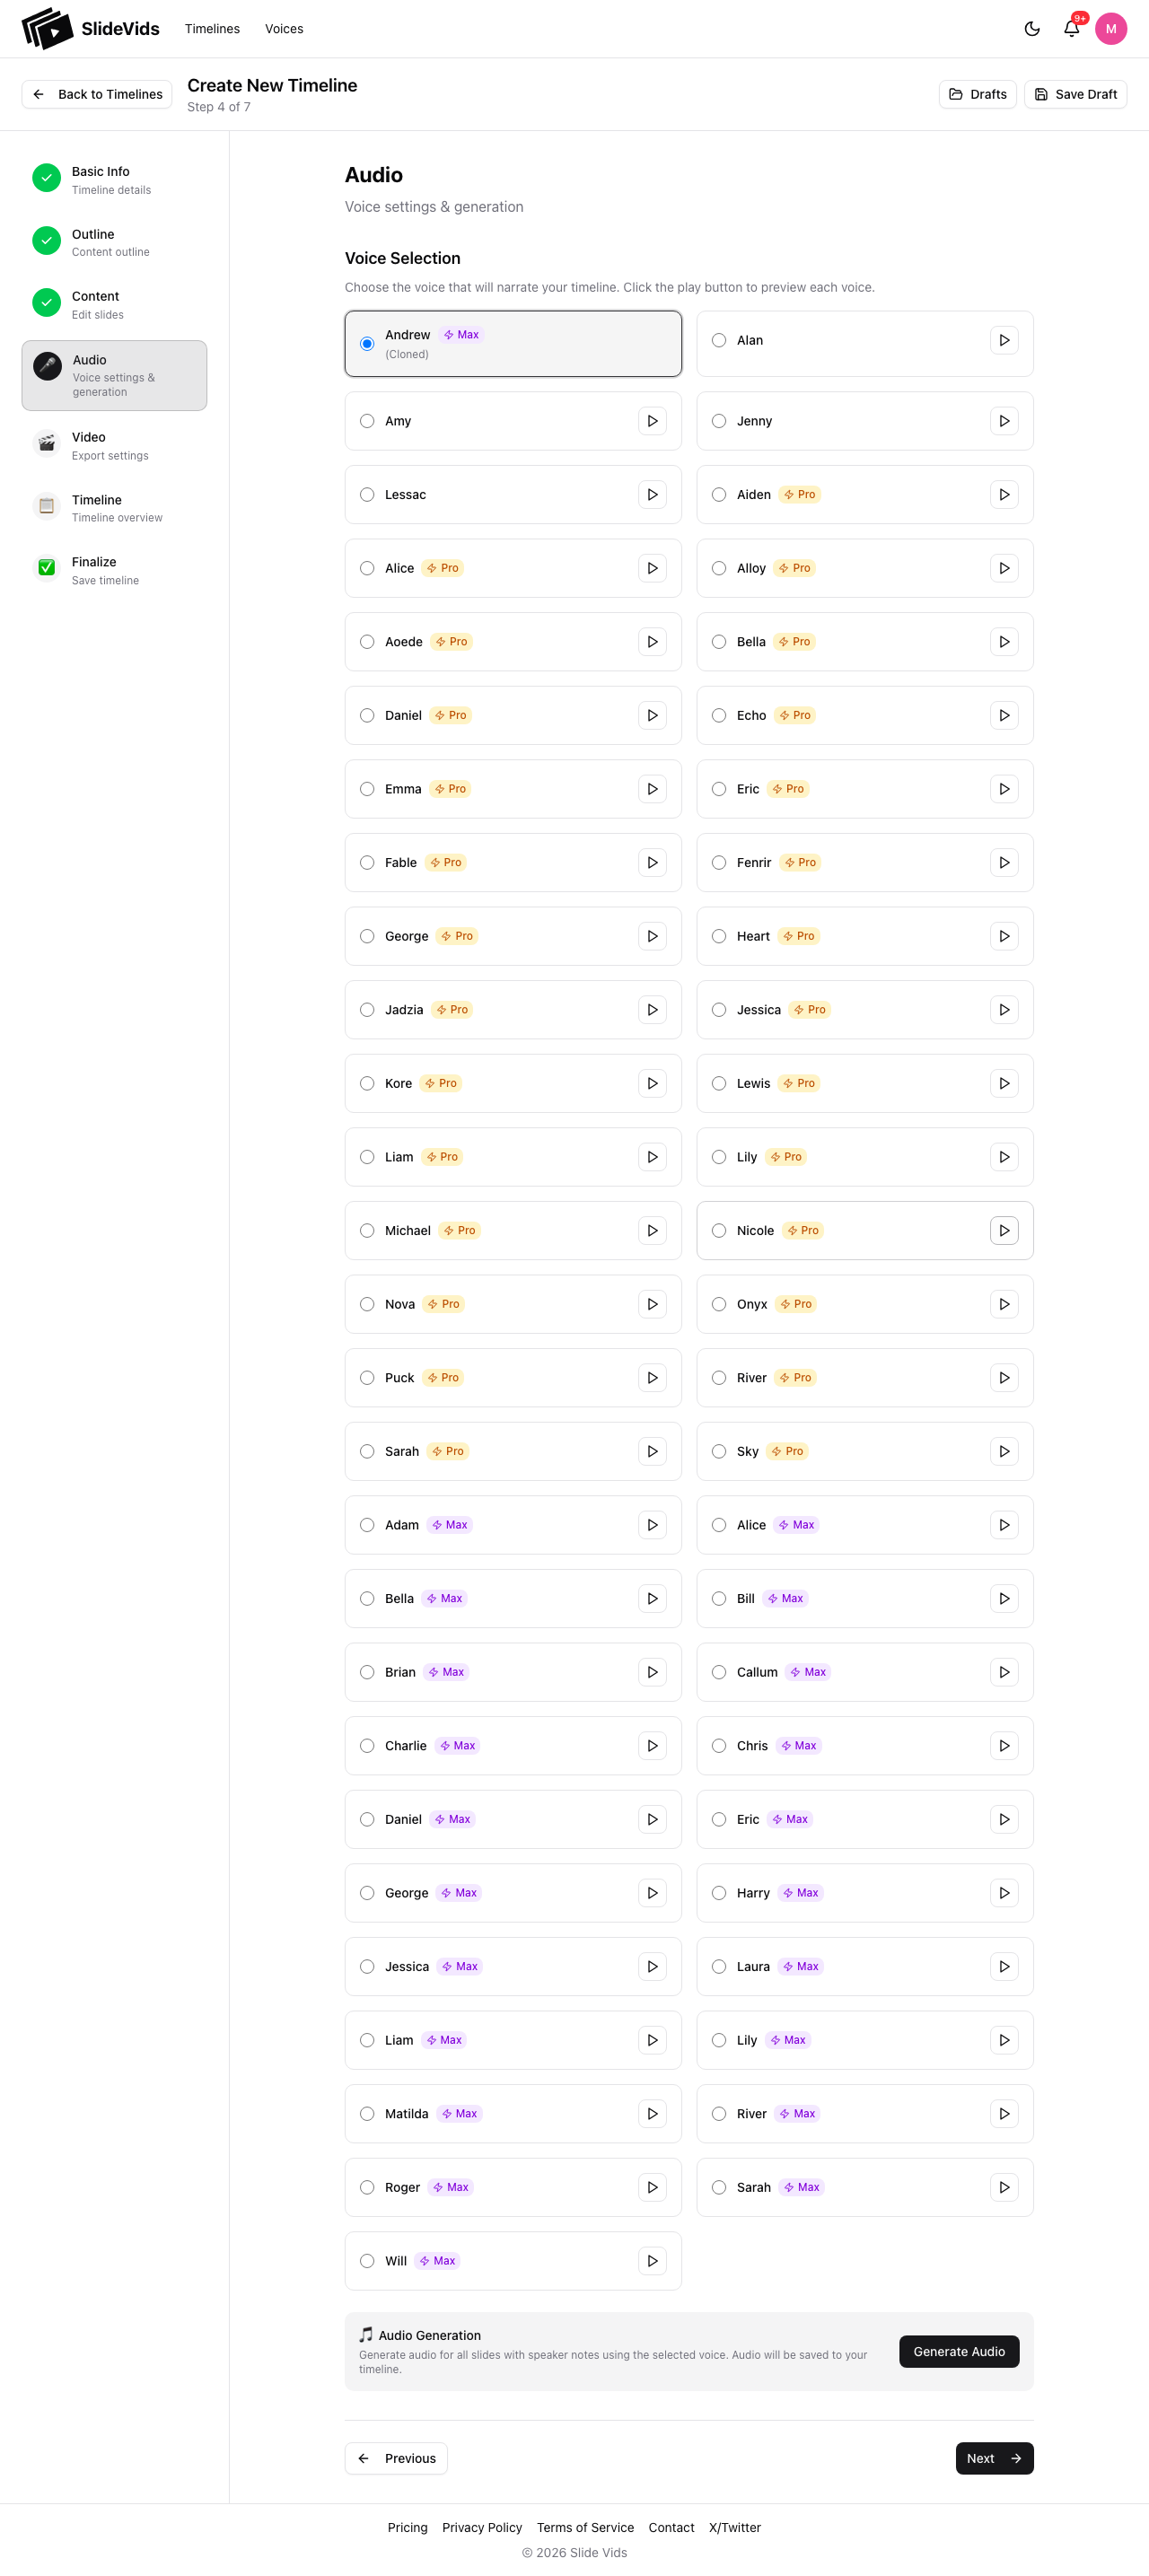
Voice setup guide: /help/product/voice-and-audio-settings
Step 6: Wizard - Video
- Choose export/render settings.
- Confirm resolution and codec.
- Click
Next.

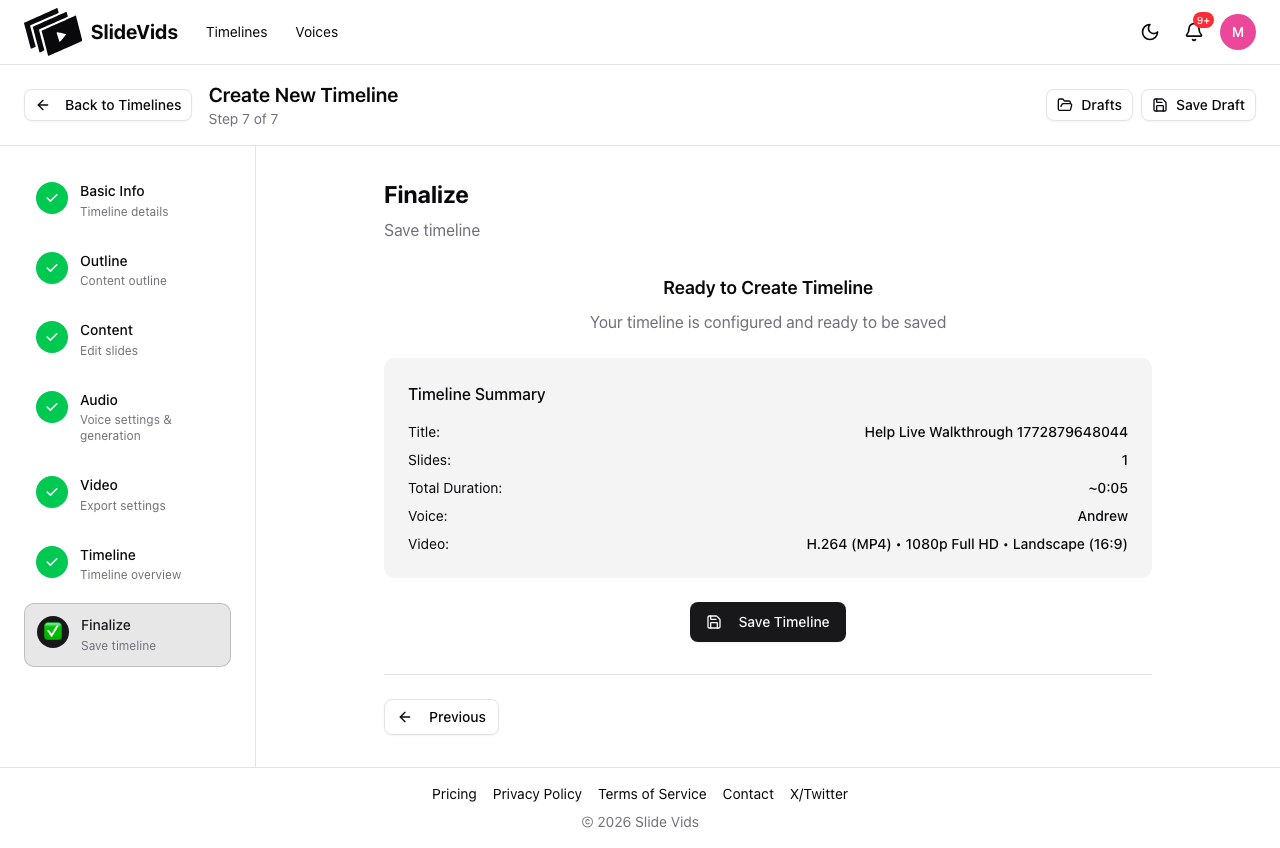
Step 7: Wizard - Timeline Overview
- Review slide sequence, duration, voice, and video settings.
- Click
Next.
Step 8: Wizard - Finalize
- Click
Save Timeline(orCreate Timelinedepending on account state/UI copy). - You will be redirected to timeline details.
Step 9: Generate Video
- On timeline details, click
Generate Video. - Monitor render status until complete.
- Review output for structure, pacing, and transitions.

Step 10: Publish
Choose output path:
- Share URL for quick review.
- Download for upload/distribution.
- Export for pro editor workflows if needed.
Export guide: /help/product/export-and-sharing
Import from an existing deck: /help/product/import-a-powerpoint
First-Publish QA Checklist
- Intro states problem and outcome clearly.
- Narration pace is consistent across slides.
- No slide overflows or clipped text.
- CTA/end slide tells viewer what to do next.